从 Hexo 迁移到 Hugo
前言
自茯苓我从 Windows 投向 Macos 的怀抱以后,真是有好多东西要做迁移,加上 M1 架构的生态并不是那么好,茯苓的迁移进程就慢到起飞。本来打算这两天写一篇博客,这才意识到,之前的 hexo 博客没做迁移,以前一直就听说 hugo 优点很多,干脆心一横,枪在手,跟我走,杀 hexo,抢 hugo!
安装
安装 Hugo
Mac 直接使用 brew 安装即可
生成站点
生成博客文件夹
1
|
hugo new site Bitter_Tree/Blog
|
先 cd 到博客文件夹,后续操作都在博客文件夹下
安装皮肤
茯苓这里选取的是 FixIt 主题,集大成者
1
2
|
git init
git submodule add https://github.com/hugo-fixit/FixIt.git themes/FixIt
|
创建页面
填写网站根目录的配置文件 config.toml
 1
 2
 3
 4
 5
 6
 7
 8
 9
10
11
12
13
14
15
16
17
18
19
20
21
22
23
24
25
26
27
28
29
30
31
32
33
34
35
36
37
38
39
40
41
42
43
44
45
46
47
48
49
50
51
52
53
54
55
56
57
58
59
60
61
62
63
64
65
|
title = "我的全新 Hugo FixIt 网站"
baseURL = "http://example.org/"
# 设置默认的语言 ["en", "zh-cn", "fr", "pl", ...]
defaultContentLanguage = "zh-cn"
# 网站语言, 仅在这里 CN 大写 ["en", "zh-CN", "fr", "pl", ...]
languageCode = "zh-CN"
# 是否包括中日韩文字
hasCJKLanguage = true

# 更改使用 Hugo 构建网站时使用的默认主题
theme = "FixIt"

[params]
  # FixIt 主题版本
  version = "0.2.X"

[menu]
  [[menu.main]]
    identifier = "posts"
    # 你可以在名称(允许 HTML 格式)之前添加其他信息,例如图标
    pre = ""
    # 你可以在名称(允许 HTML 格式)之后添加其他信息,例如图标
    post = ""
    name = "文章"
    url = "/posts/"
    # 当你将鼠标悬停在此菜单链接上时,将显示的标题
    title = ""
    weight = 1
    # 向菜单项添加用户定义的内容
    [menu.main.params]
      # 添加 CSS 类到菜单项
      class = ""
      # 是否为草稿菜单,类似草稿页面
      draft = false
      # 添加 fontawesome 图标到菜单项
      icon = "fa-solid fa-archive"
      # 设置菜单项类型,可选值:["mobile", "desktop"]
      type = ""
  [[menu.main]]
    identifier = "categories"
    pre = ""
    post = ""
    name = "分类"
    url = "/categories/"
    title = ""
    weight = 2
    [menu.main.params]
      icon = "fa-solid fa-th"
  [[menu.main]]
    identifier = "tags"
    pre = ""
    post = ""
    name = "标签"
    url = "/tags/"
    title = ""
    weight = 3
    [menu.main.params]
      icon = "fa-solid fa-tags"

# Hugo 解析文档的配置
[markup]
  # 语法高亮设置 (https://gohugo.io/content-management/syntax-highlighting)
  [markup.highlight]
    # false 是必要的设置 (https://github.com/hugo-fixit/FixIt/issues/43)
    noClasses = false
|
创建一个关于页面和文章页面
启动 Hugo
就会在本地启动博客了
配置
网站基础配置
https://fixit.lruihao.cn/zh-cn/theme-documentation-basics/#site-configuration 这里有详细的配置,参照这个配置文件做改动
茯苓的建议是把他的配置文件直接复制到博客根目录下,不要去主题文件夹里面修改
这步茯苓主要是做一些网站图片,网站名称的修改,值得一提的是该主题本身就有关于和友链页面,可以直接创建并修改菜单栏
魔改 css
目前这个主题还未提供更换背景的功能,只能自己魔改了
首先在网站根目录下创建 assets/css 文件夹,在里面添加 _custom.scss
 1
 2
 3
 4
 5
 6
 7
 8
 9
10
11
12
13
14
15
16
17
18
19
20
21
22
|
body {
    background-image: url(/background.jpg);
    background-size: cover;
    background-position: top 20px center;
    background-repeat: no-repeat;
    background-attachment: fixed;
}

header#header-desktop.desktop.animate__faster {
    backdrop-filter: blur(10px);
    background: hsla(0, 0%, 100%, 0.8) linear-gradient(90deg, rgba(247,149,51,0.15) 0, rgba(243,112,85,0.15) 15%, rgba(239,78,123,0.15) 30%, rgba(161,102,171,0.15) 44%, rgba(80,115,184,0.15) 58%, rgba(16,152,173,0.15) 72%, rgba(7,179,155,0.15) 86%, rgba(109,186,130,0.15) 100%);
    [data-theme='dark'] & {
        background-color: $header-background-color-dark;
    }
}

main.container, footer.footer {
    background-color: rgba($color: $global-background-color, $alpha: 0.45);
    [data-theme='dark'] & {
        background-color: rgba($color: $global-background-color-dark, $alpha: 0.9);
    }
}
|
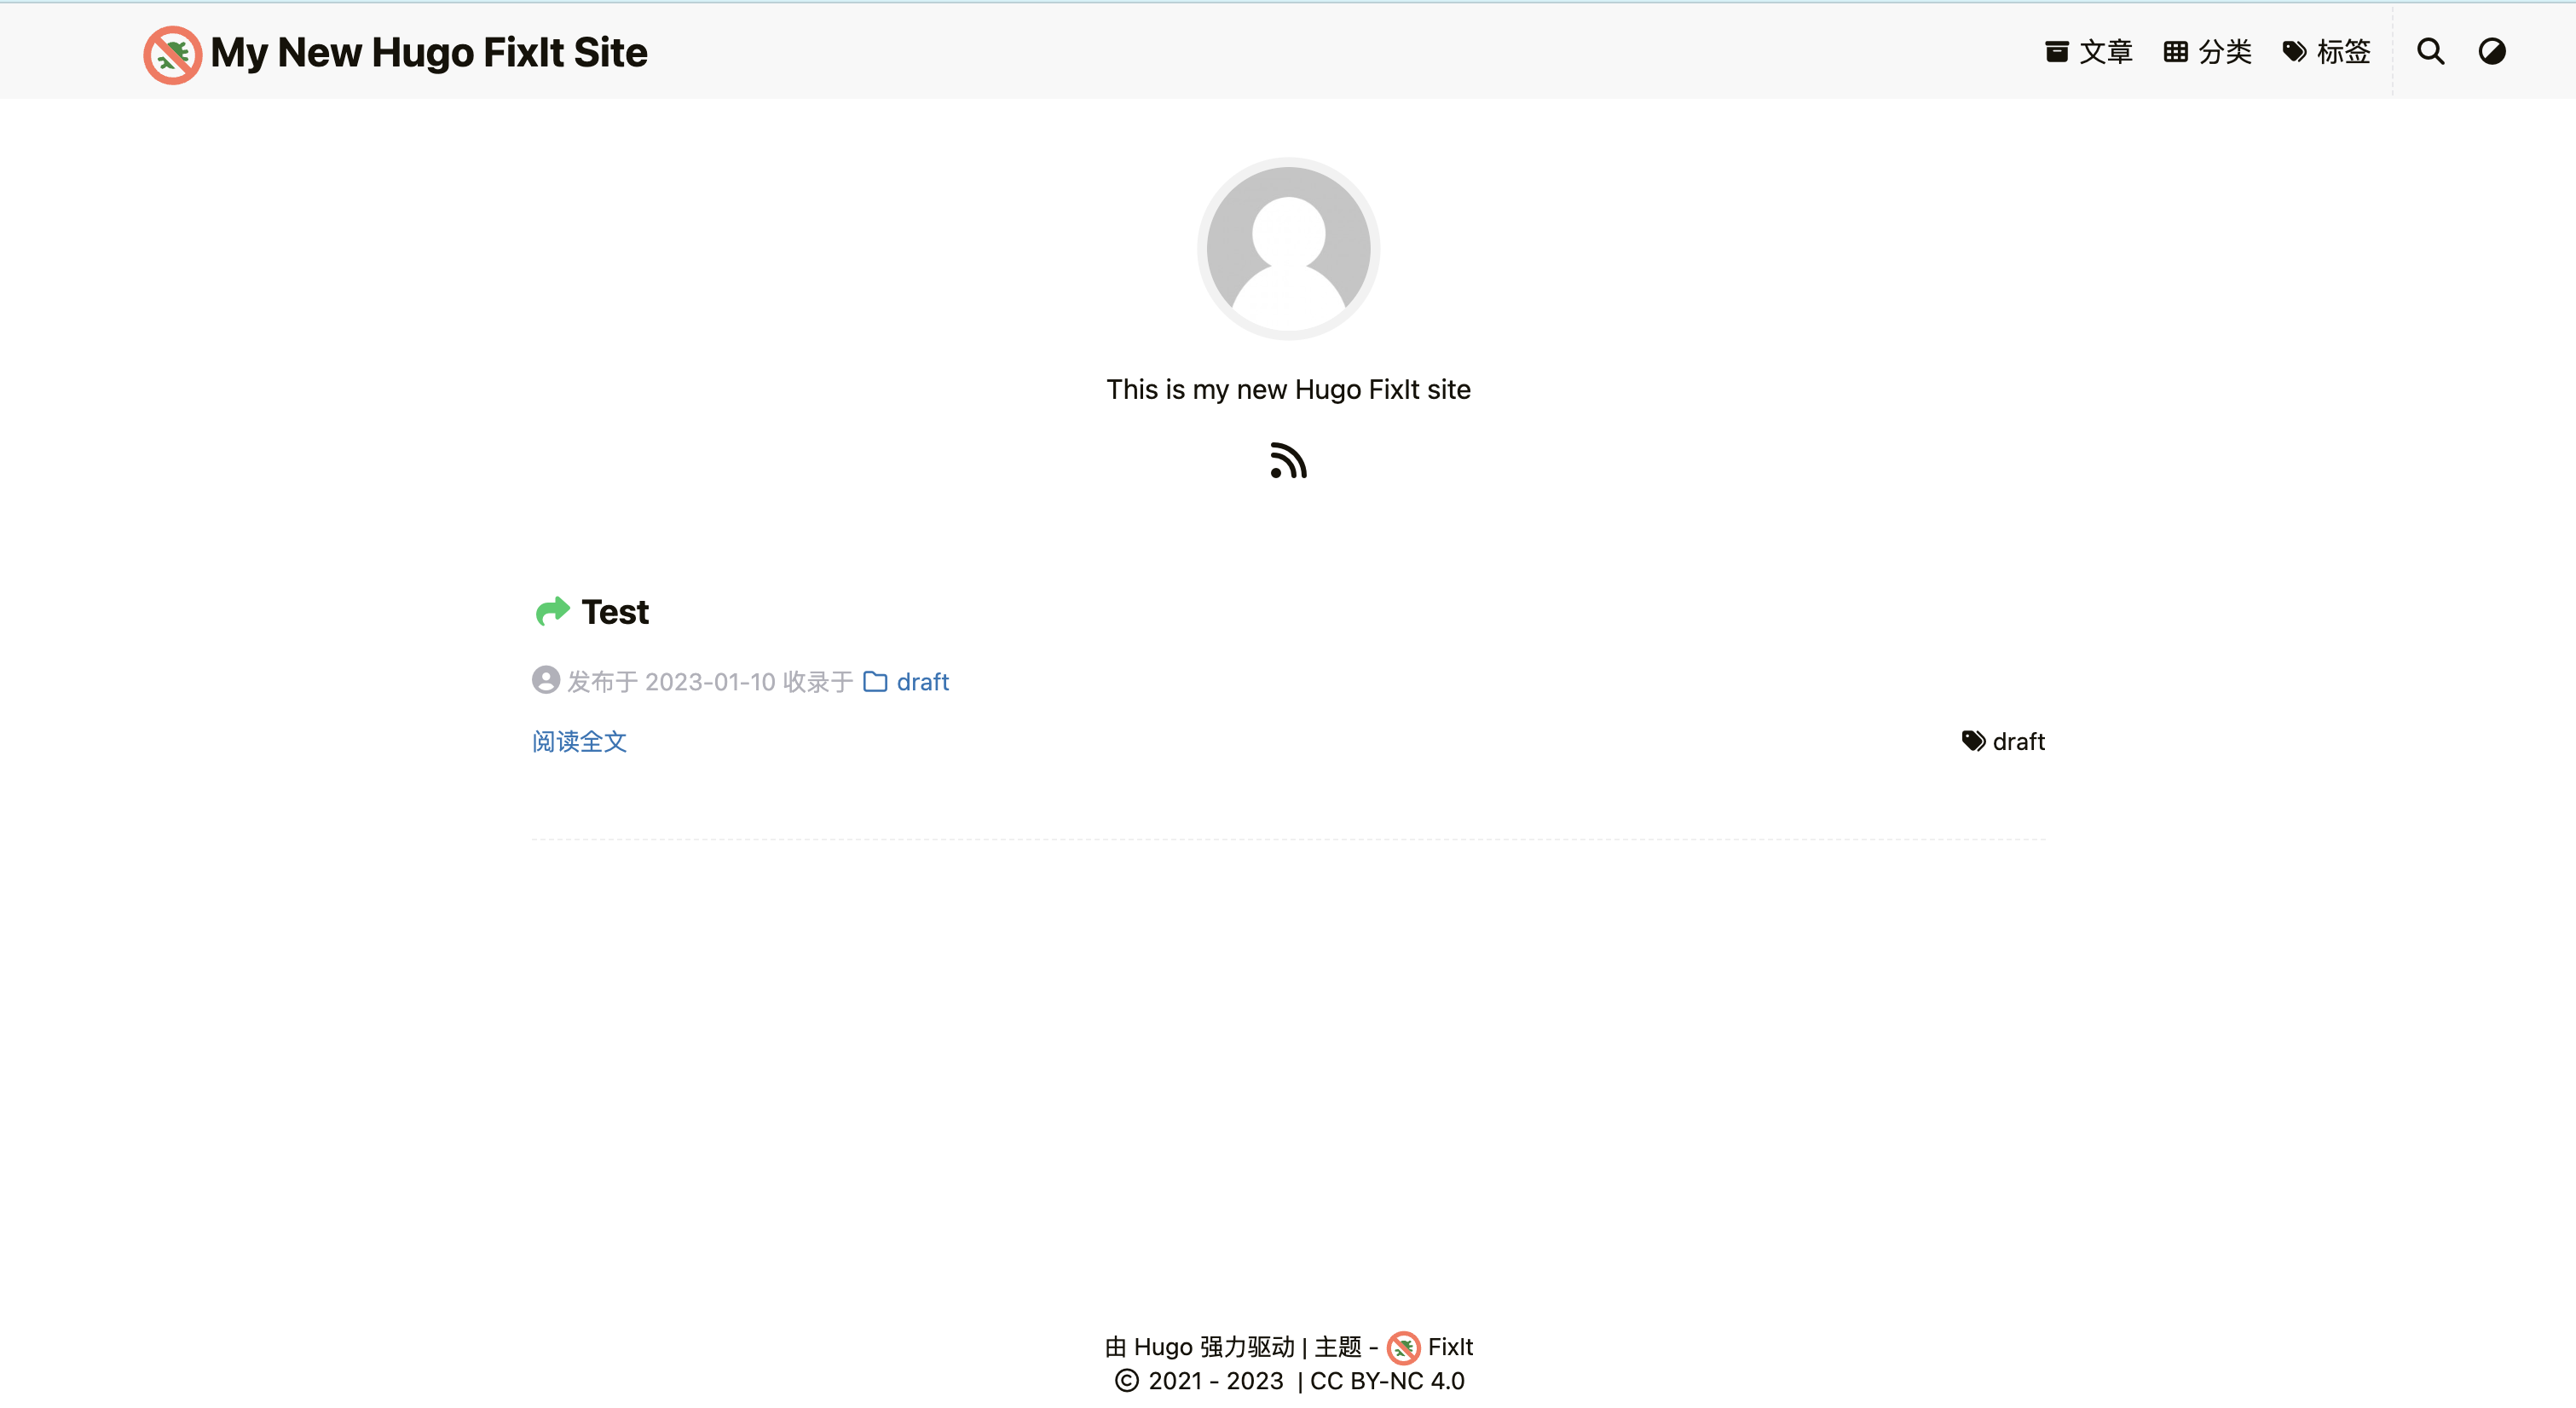
这是茯苓的配置,对黑夜效果也做了适配,效果图为

添加评论系统
茯苓货比三家最后选择了 Waline 评论系统,可以参照官方文档配置,非常详细,记得配置评论提醒功能哦
这里贴一下 config
 1
 2
 3
 4
 5
 6
 7
 8
 9
10
11
12
13
14
15
16
|
      [params.page.comment.waline]
        enable = true
        serverURL = ""
        pageview = true # FixIt 0.2.15 | 新增
        emoji = ["//unpkg.com/@waline/emojis@1.1.0/weibo"]
        meta = ["nick", "mail", "link"]
        requiredMeta = ["nick", "mail"]
        login = "enable"
        wordLimit = 0
        pageSize = 10
        imageUploader = true # FixIt 0.2.15 | 新增
        highlighter = true # FixIt 0.2.15 | 新增
        comment = true # FixIt 0.2.15 | 新增
        texRenderer = true # FixIt 0.2.16 | 新增
        search = true # FixIt 0.2.16 | 新增
        recaptchaV3Key = "" # FixIt 0.2.16 | 新增
|
修改 fontawesome
茯苓根据自己的情况,创建了一个 fontawesome 模版,放在博客根目录的 archetypes 文件夹下,建一个 posts.md
 1
 2
 3
 4
 5
 6
 7
 8
 9
10
11
12
13
14
|
title: "{{ replace .TranslationBaseName "-" " " | title }}"
date: {{ .Date }}
Lastmod:
password:
message: "此地无银三百两"
comment: true
weight: 0

categories:
- draft

resources:
- name: featured-image
  src: featured-image.png
|
文章迁移
茯苓以前也都不怎么写博客,有很多文章的年限都比较久了,就挑了一篇二次反序列化,以及 JavaSE 的笔记迁过来,要改动的地方就是头部的那些,没啥难度就是有点麻烦耗时间
部署到 github 仓库
需要部署在 GitHub Pages 上,首先在GitHub上创建一个 Repository,仓库名必须跟自己的用户名一样用户名.github.io
然后运行hugo命令创建 public 页面,然后建立本地和 github 仓库的连接
1
2
3
4
5
6
7
|
hugo
cd public
git init
git add .
git commit -m "updating site on $(date)"
git remote add origin https://github.com/PoriaMs/poriams.github.io.git
git push -u origin main
|
与远程仓库建立连接时,现在不能使用用户名密码登录,需要申请令牌,会有提示文档,照着操作就好
以后每次更新只需要
1
2
3
4
5
|
hugo
cd public
git add .
git commit -m "updating site on $(date)"
git push origin main
|
添加 google 分析
添加这个可以帮助茯苓统计网站流量
申请好 ID 之后填上去即可
1
2
3
4
5
6
7
|
  [params.analytics]
    enable = true
    # Google Analytics
    [params.analytics.google]
      id = ""
      # 是否匿名化用户 IP
      anonymizeIP = true
|
添加 SEO
Google
第一步
先去 https://search.google.com/search-console 点击添加资源,选择 URL 方式导入,输入 URL,然后下载弹出 html 到 static 目录下,重新部署网站,部署完之后点击验证,验证成功代表没问题
第二步
在 search-console 中点击站点地图,然后把自己的添加进去,hugo 的默认在 sitemap.xml 下
百度
进入百度搜索资源平台,选择 用户中心->站点管理->添加网站,这里的验证方式也可以选择下载html的方式,步骤和google的一样,验证成功后选择 搜索服务->普通收录->sitemap,输入sitemap的网址,和google的站点地图一样。不过百度的收录速度貌似很慢
必应
进入Bing Webmaster Tools,登录后直接导入google的数据就可以,很方便
辅助脚本
茯苓迎合自己的需求写了一个博客辅助脚本,生成文章时可以按照文章名生成文件夹,以 index.md 为文章内容,图片就可以保存在文件夹内以相对路径引用了,还有一些其他功能方便自己使用
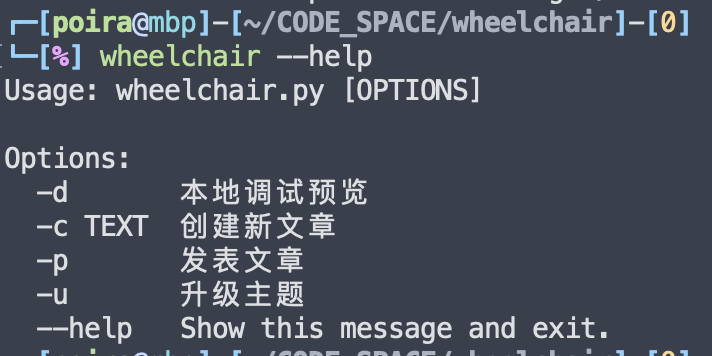
地址:https://github.com/PoriaMs/wheelchair